-
1
Braise the Pork Filling
60 Mins • Gentle Simmer
Simmer, ~95°C (203°F); pork to at least 71°C (160°F)
Heat 15 ml oil in a heavy pot over medium heat and brown the 500 g pork cubes in batches. Add half the diced onion, the garlic, ginger, five-spice and pepper, then pour in 240 ml water, 45 ml soy sauce and 25 g sugar. Cover and simmer gently for about 50 minutes until the pork is tender enough to shred with a fork. Stir the cornstarch slurry in and simmer 2 minutes more until the sauce clings to the meat. Tip the filling into a bowl, stir in the remaining raw onion and the green onion, and cool completely.
Do not rush the braise — tough pork makes a tough filling. If the liquid dries out, add water a splash at a time.
Done when: Pork shreds easily, the sauce is glossy and coats the meat, and the filling holds its shape on a spoon.
-
2
Make the Dough
15 Mins • Mix & Knead
Warm water ~38°C (100°F); room temperature ~24°C (75°F)
Whisk the 500 g flour, 40 g sugar, 5 g salt, 5 g baking powder and 7 g instant yeast in a large bowl. Pour in 280 ml warm water and 15 ml oil, mix to a shaggy dough, then knead on a clean surface for 8–10 minutes until smooth and elastic. Shape into a ball, cover with a damp cloth, and leave in a warm spot for about 60 minutes until doubled in size.
The dough is ready when a pressed finger leaves a dent that springs back slowly.
Done when: Dough has doubled, feels soft and springy, and does not stick to your hands.
-
3
Shape the Buns
20 Mins • Shaping
Room temperature, ~24°C (75°F)
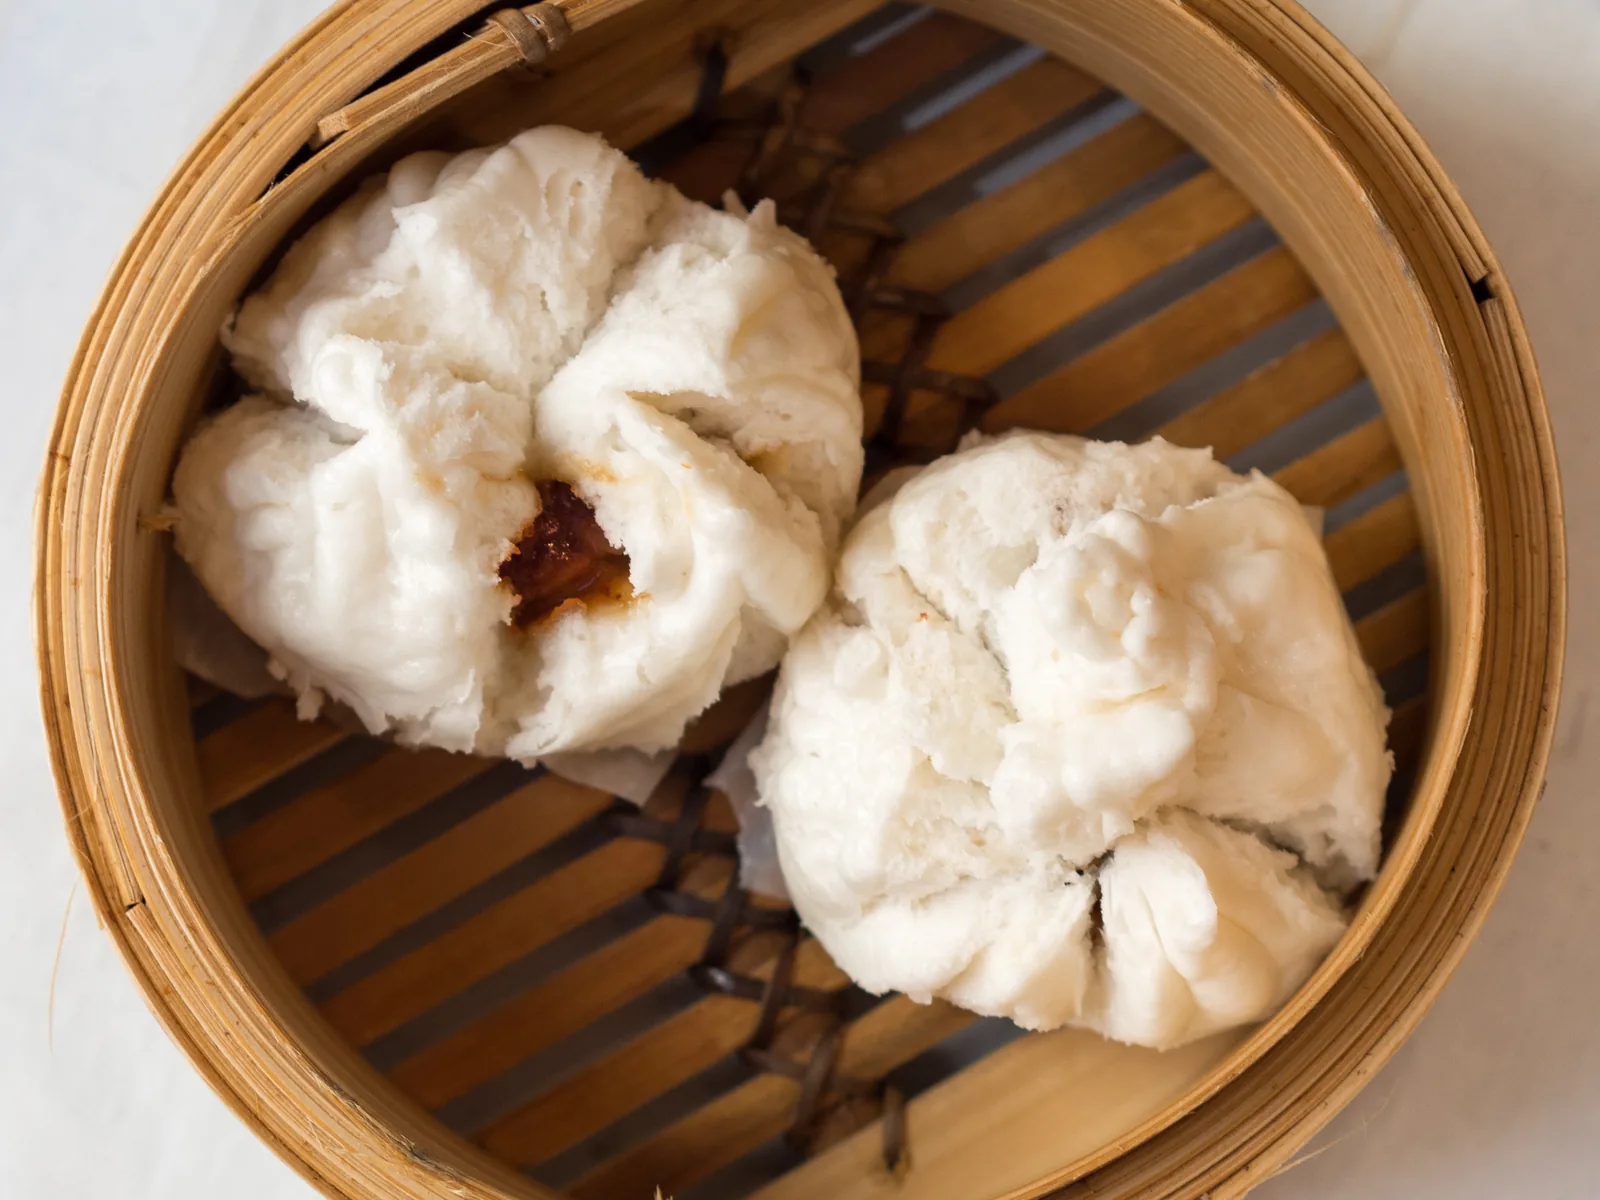
Punch the risen dough down and roll it into a log, then cut into 12 equal pieces of about 70 g each. Flatten each piece into a round about 10 cm across, thicker in the middle and thinner at the edges. Spoon about 50 g of the cooled soy-braised pork filling into the centre, gather the edges up over the filling, pinch firmly to seal, and twist the top closed. Set each bun seam-side down on a baking-paper square.
Keep the filling in the centre and the edges clean — filling on the rim stops the seal from holding.
Done when: Each bun is a smooth round with a firmly pinched seam and no filling showing.
-
4
Proof the Buns
30 Mins • Rest
Warm spot, ~28°C (82°F)
Cover the shaped buns loosely with a damp cloth and leave in a warm, draught-free spot for about 30 minutes. They should puff up by about half again and feel light when lifted.
Do not over-proof — buns that rise too long collapse and wrinkle in the steamer.
Done when: Buns look puffy and a gentle press leaves a slow, shallow dent.
-
5
Steam Until Puffy
15 Mins • Steaming
Rolling steam, 100°C (212°F)
Bring water to a rolling boil in a steamer or a pot fitted with a steamer basket. Set the buns in the basket with at least 3 cm between them — they grow as they cook — cover with a tight lid, and steam for 15 minutes without lifting the lid. Turn off the heat and leave the lid on for 2 minutes before opening, so the buns do not collapse from the sudden temperature change.
Never lift the lid mid-steam: the escaping heat makes the buns wrinkle and sink.
Done when: Buns are white, puffy and springy, and the dough springs back when pressed; the filling inside is steaming hot.
-
6
Serve Warm
5 Mins
Serve hot, above 60°C (140°F)
Lift the buns out on their paper squares and serve immediately while the dough is soft and the filling is hot. Peel the paper off just before eating.
Eat them with your hands — split the bun open and let the steam out before the first bite.
Done when: Buns are hot through, soft to the touch, and the paper peels away cleanly.
auto_awesome Finishing Touches & Plating
Serve the buns straight from the steamer, two per person, with chilli sauce on the side for anyone who wants heat. Leftover buns re-steam beautifully the next day.

 Samoa
1h 40m
 Italy
 Thailand
 Morocco